
Why Technique Matters
Poor technique can turn a simple medical procedure into a safety problem.
When people discuss peptide injections, they often focus on the peptide and ignore the procedure. But the procedure matters: sterile supplies, product identity, correct route, site rotation, disposal, and knowing red flags.
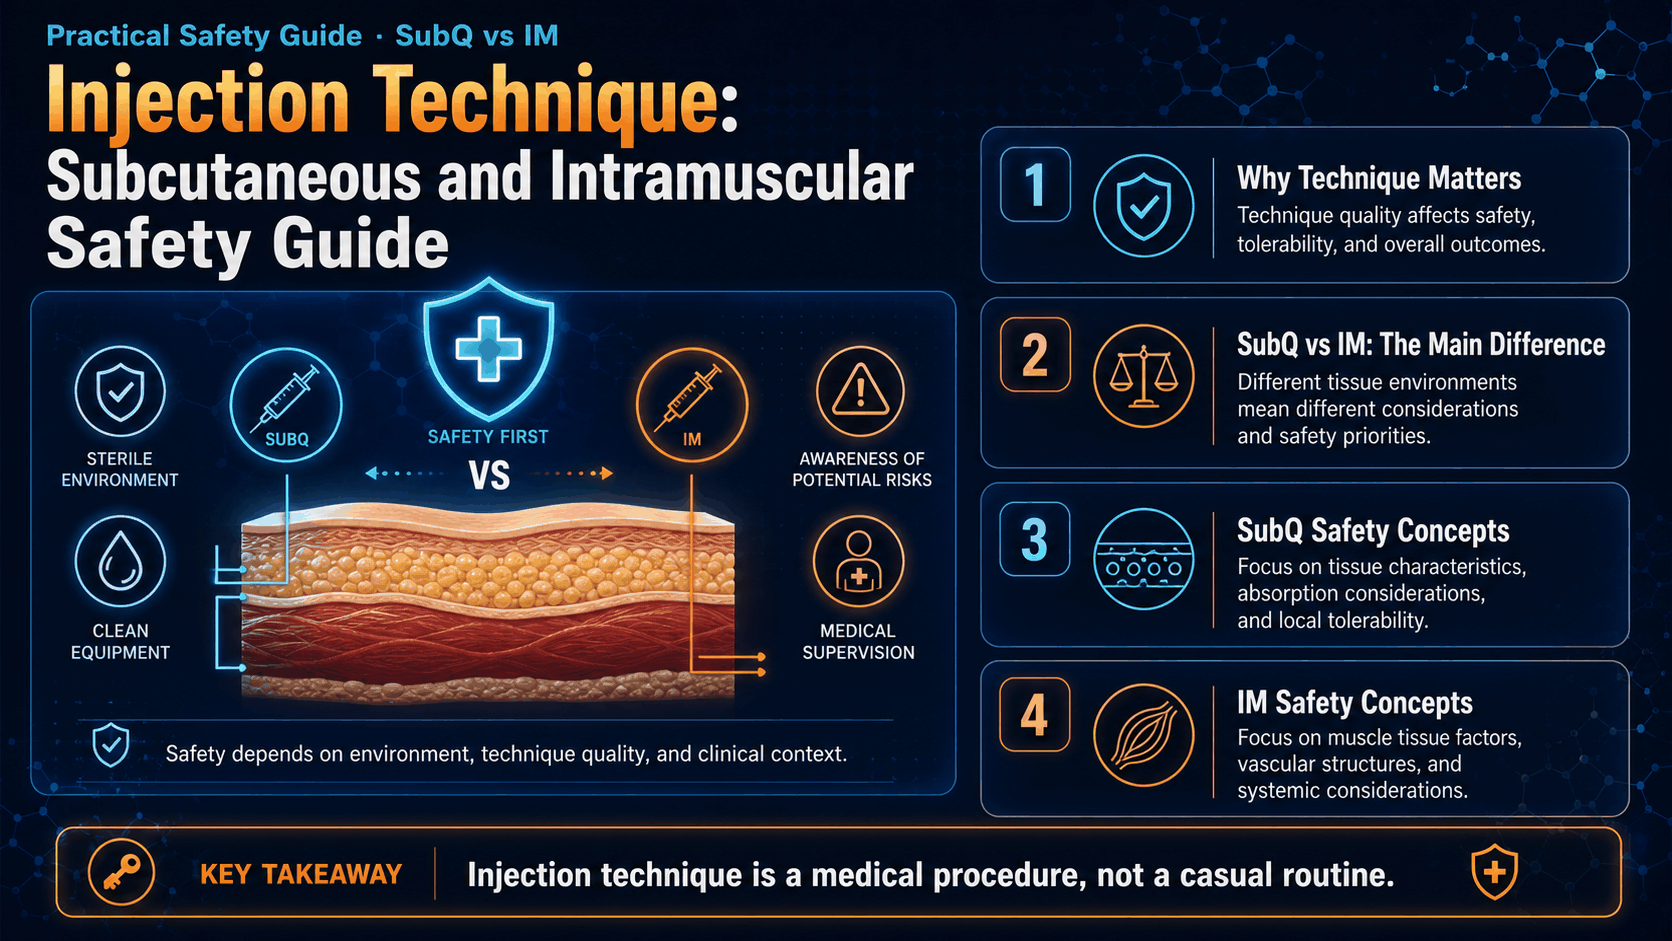
SubQ vs IM: The Main Difference
Subcutaneous injection goes into the fatty layer under the skin. Intramuscular injection goes into muscle tissue. Muscle has richer blood supply, so absorption can be faster, but faster is not automatically better.
Often simpler
- Targets the subcutaneous fat layer.
- Usually slower and steadier absorption.
- Commonly discussed for many peptides.
- Still requires sterile handling and instruction.
- Usually lower complexity than IM.
More technical
- Targets muscle tissue.
- May absorb faster.
- Requires more precise landmarking.
- Needle length and gauge are individualized.
- Should be used only when specifically instructed.
 Sponsored / AffiliateiHerb · Supplements, wellness products, and daily health essentials
SubQ Safety Concepts
Clean setup matters
Wash hands, use a clean surface, and prepare only the supplies needed. Sterility is part of the procedure.
Product identity must be clear
Confirm product name, concentration, label, storage conditions, reconstitution date, and discard date. Do not use a product if identity is uncertain.
Use sterile single-use supplies
Needles and syringes are single-use medical supplies. Reuse increases contamination and tissue trauma risk.
Rotate sites safely
Repeated use of one small area can irritate tissue and affect absorption. Learn a rotation plan from a professional.
Do not rush
Pain, leakage, swelling, and bruising often come from poor technique, speed, tension, or repeated use of one site.
Dispose of sharps properly
Used sharps should go into an appropriate sharps container or local-rule-compliant puncture-resistant container.
IM Safety Concepts
IM injection is more technical. It may be used when a formulation, absorption profile, or volume requires it, but it is not automatically better for peptides.
IM requires professional instruction because:
- Site choice depends on anatomy and product requirements.
- Wrong site selection can increase nerve injury, bleeding, pain, or ineffective placement risk.
- Needle length and gauge depend on patient size, site, and formulation.
- Landmarking, positioning, tissue relaxation, and post-administration monitoring matter.
- Significant pain, swelling, warmth, fever, numbness, or worsening symptoms need review.
 Sponsored / AffiliateTeleWellnessMD · Telehealth wellness consultations and health optimization support
Injection Sites: General Map
These are broad educational regions, not a replacement for hands-on landmarking and route-specific training.
Abdominal area
Often discussed for SubQ contexts. Avoid scars, irritation, infection, and repeated use of the same small point.
Outer thigh
Commonly discussed in both SubQ and IM education. Exact technique and landmarking require training.
Deltoid area
Used for certain IM injections in clinical practice. Volume, anatomy, and needle choice matter.
Gluteal area
Requires professional landmarking due to nerve and vessel considerations. Not a beginner self-training area.
Near injury area
Sometimes discussed for recovery peptides. Do not inject into joints, tendons, wounds, or inflamed tissue without medical guidance.
Upper arm back area
Sometimes used as a SubQ rotation area, but it may be difficult to access safely alone.
Six Common Mistakes
Using antiseptic incorrectly
Disinfection works best when used properly and allowed to dry. Do not rush sterile preparation.
Unclear volume or preparation
Small bubbles are usually not the main danger in SubQ contexts, but unclear volume and poor preparation lead to errors.
Repeating the same site
Repeated tissue trauma can irritate skin and affect absorption. Learn safe rotation from a professional.
Rushing the process
Fast, tense, or distracted handling increases discomfort and mistakes. Slow down and follow a checklist.
Reusing needles or syringes
This increases infection risk and tissue trauma. One sterile set of supplies is for one use only.
Ignoring pain or inflamed tissue
Pain, infection, unusual swelling, or tissue changes should not be ignored. Stop and seek guidance.
Two Common Myths
Myth: IM is always better than SubQ.
Fact: IM is not automatically better. For many peptide discussions, SubQ is commonly referenced and may be sufficient when prescribed. Route depends on product, formulation, goal, and medical instructions.
Myth: A small bruise means something went wrong.
Fact: Small bruising can happen even with proper technique. However, large painful bruising, spreading redness, warmth, pus, fever, numbness, or severe pain are red flags.
Frequently Asked Questions
Is this article injection training?
No. It is a safety overview. Hands-on technique should be taught by a qualified professional.
Which route is best for peptides?
It depends on the product, formulation, instructions, and medical context. SubQ is often discussed, but route should follow professional guidance.
Can I reuse a syringe if it is only for me?
No. Needles and syringes are single-use supplies. Reuse increases contamination and tissue trauma risk.
What signs mean I should stop and seek help?
Spreading redness, severe pain, fever, pus, rash, swelling, numbness, breathing difficulty, or uncertainty about product identity.
Can I inject near an injury?
Do not inject into joints, tendons, wounds, or inflamed tissue without medical guidance. Localized strategies require professional supervision.
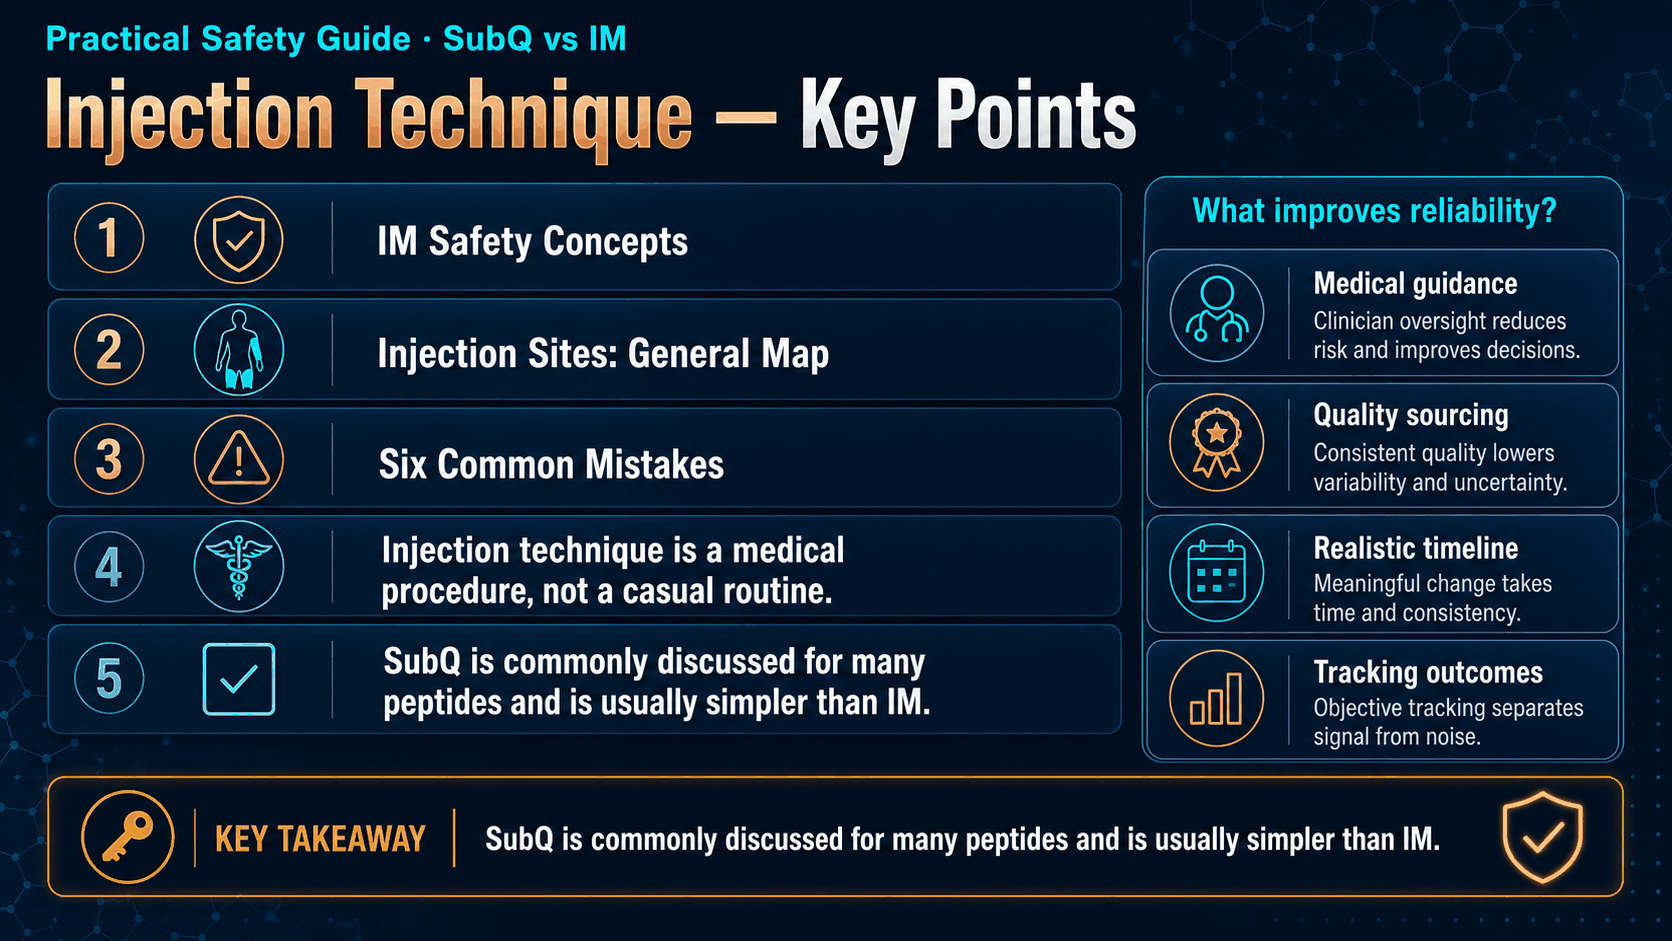
Key Takeaways
- Injection technique is a medical procedure, not a casual routine.
- SubQ is commonly discussed for many peptides and is usually simpler than IM.
- IM is more technical and should be used only when specifically instructed.
- Sterility, product identity, labeling, and disposal matter every time.
- Site rotation helps avoid tissue irritation.
- Needles and syringes are single-use only.
- Red flags require stopping and seeking medical guidance.